EN
EN
The Comprehensive Guide to Body Measurements


Accurate measurement of body metrics is the foundation of health management and a prerequisite for properly assessing one’s physical condition. Whether your goals are to lose fat or gain muscle, precise measurement data is indispensable. Inaccurate measurements can lead to flawed calculations and health recommendations, resulting in a misjudgment of your physical status. Therefore, understanding and mastering the correct measurement methods is crucial. With accurate body measurement data, you can not only achieve more precise results with the HealthyCalc tool but also have a reliable basis for daily health tracking. We will provide you with scientific and detailed guidance on measurement methods, ensuring that you can easily master the techniques at each step and obtain accurate data.
1. Height Measurement
Accurate measurement of height is a crucial prerequisite for various health assessment calculations, especially for metrics like BMI, which heavily rely on precise height data. Here are the specific steps and considerations for measuring height:
1.1 Preparation
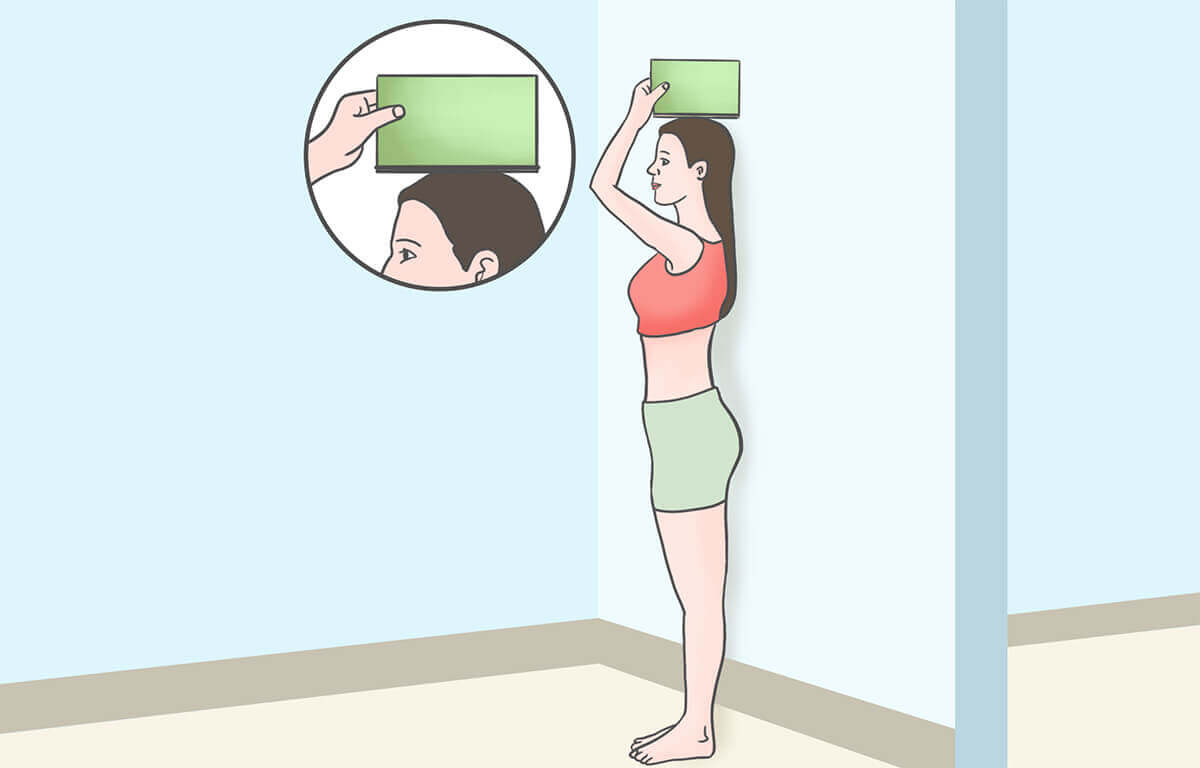
The best time to measure height is in the morning right after waking up, as your body hasn’t yet been subjected to the gravitational compression of the day. Make sure to choose a flat surface against a wall, avoiding soft materials like carpet that could lead to inaccurate measurements.
1.2 Required Tools
- Wall: To lean against, ensuring an upright posture.
- Straight edge or measuring tape: To measure the distance from the top of your head to the ground.
- Rigid object: Such as a book or a flat board, to mark your head height.
1.3 Measurement Process
Stand barefoot with your back against the wall, ensuring your heels, buttocks, shoulder blades, and head are gently touching the wall. Keep your body naturally straight and your head level. Place the rigid object flat on top of your head, perpendicular to the wall, and gently mark that position. Then, use the straight edge or measuring tape to measure the height from the floor to that mark, recording this value as your final height.
1.4 Considerations
During measurement, maintain a natural standing position, avoiding bending or tilting your head, as this can affect the accuracy of the data. Additionally, ensure that the measuring tools are precise and take multiple measurements to calculate an average for reliable results.
2. Weight Measurement
Weight is a key data point for various health calculations, such as BMI Calculator and BMR Calculator, making accurate measurement essential. To ensure data precision, follow these steps for weighing yourself.
2.1 Preparation
The best time to measure weight is in the morning on an empty stomach, after emptying your bladder. At this time, your body has minimal water and food intake, providing the most accurate weight. Additionally, wear lightweight clothing or no clothing to avoid any extra weight.
2.2 Required Tools
- Electronic scale: Choose a calibrated electronic scale for high accuracy and easy data reading.
2.3 Measurement Process
Place the electronic scale on a flat, hard surface (like tile or hardwood), avoiding soft surfaces like carpet. Stand with your feet shoulder-width apart, maintaining balance without leaning or moving. Once stable, wait a few seconds and record the weight displayed.
2.4 Considerations
Ensure measurements are taken under the same conditions, such as every morning on an empty stomach, to maintain consistency. Avoid using the scale on carpet or uneven surfaces, as this can lead to inaccurate readings. Additionally, taking multiple measurements and averaging them can further improve accuracy.
3. Waist Measurement
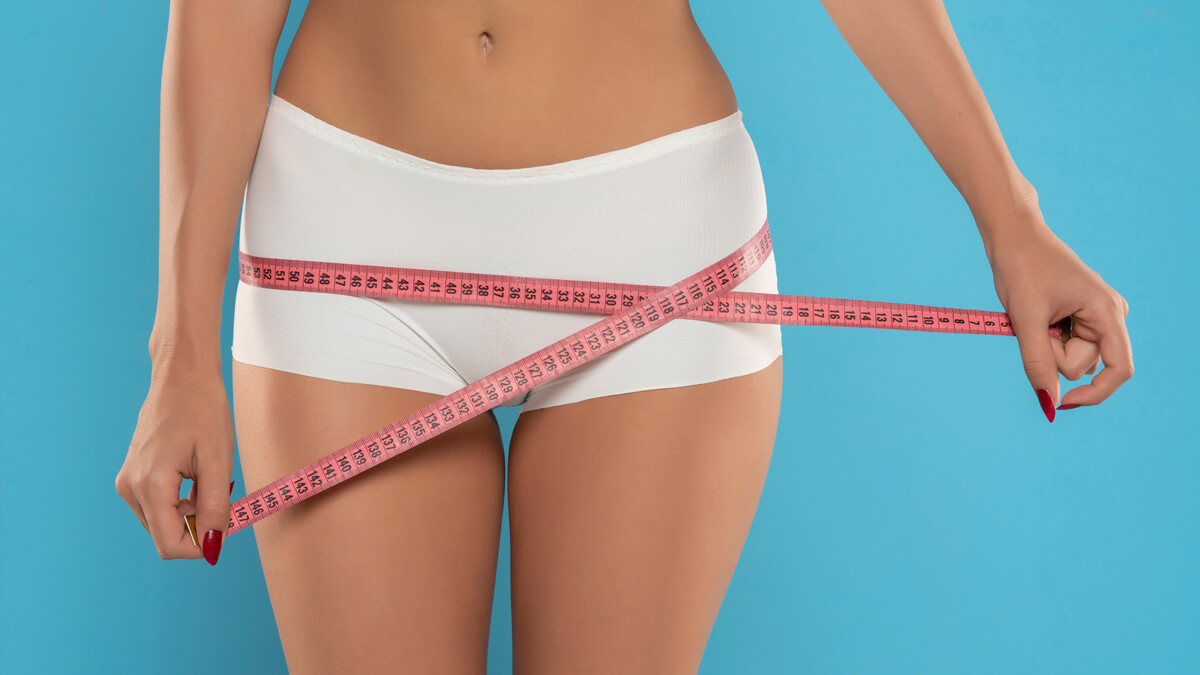
Measuring waist circumference is not only crucial for assessing the waist-to-hip ratio (WHR) but also serves as an important indicator of abdominal fat distribution. Correct waist measurement techniques can help you obtain accurate health assessment results, especially for body fat percentage calculations.
3.1 Preparation
Before measuring your waist, ensure you stand on a flat surface with your body in a natural stance, feet slightly apart and shoulder-width apart, while keeping your body relaxed. It’s best to wear lightweight clothing or no clothing to avoid interference with the results.
3.2 Required Tools
- Soft tape measure: Choose a flexible measuring tape that can wrap around your waist and lie flat against the skin without causing compression.
3.3 Measurement Process
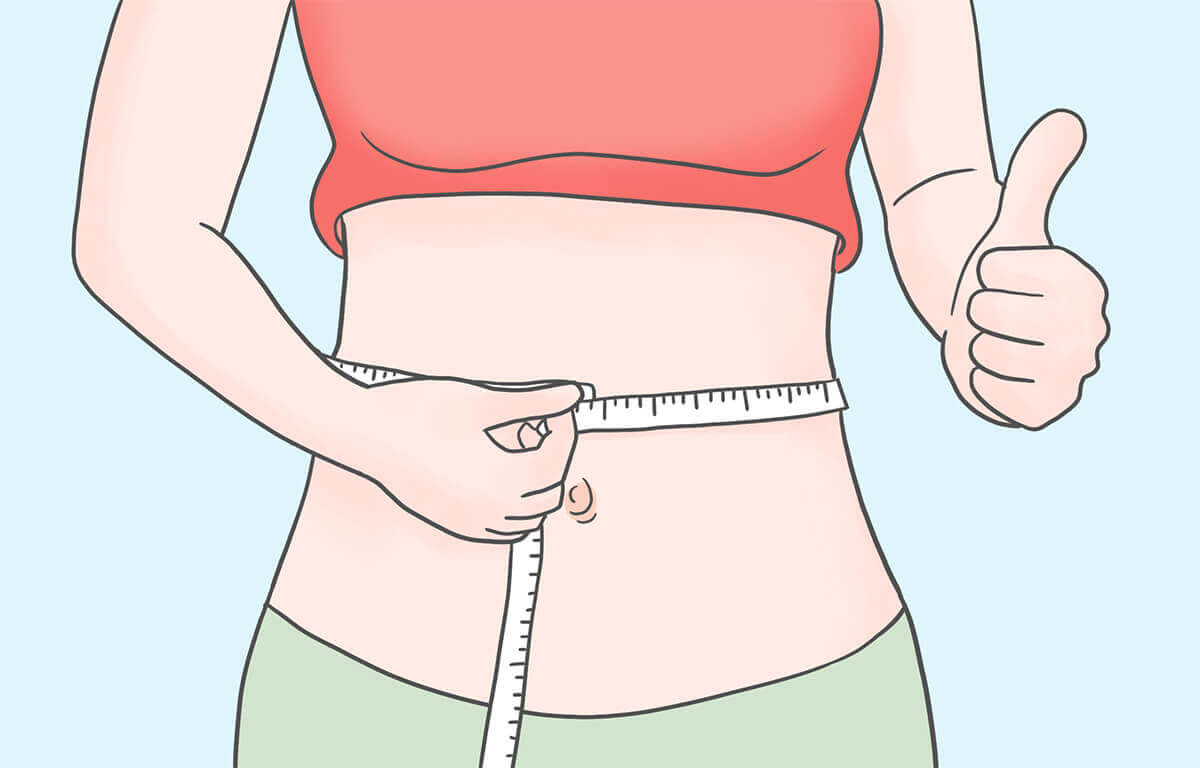
Identify the Measurement Location: The standard measurement location for waist circumference is the narrowest point between the rib cage and the hips. Typically, for women, this is about 2-3 centimeters above the navel, while for men, it's closer to the level of the navel. Use your hands to feel for the narrowest area of your abdomen, which is the correct measurement point.
Conduct the Measurement: Wrap the soft tape measure horizontally around the narrowest part of your waist, ensuring it is parallel to the ground and not tilted. Stand naturally while breathing normally; do not consciously inhale or pull in your stomach. Place the tape snugly against your skin without being too tight, as this could affect measurement accuracy. Read the number displayed on the tape and record it.
3.4 Considerations
- Maintain Natural Breathing: During the measurement, avoid consciously inhaling or pulling in your stomach; keep a natural breathing state to ensure accurate waist data.
- Take Multiple Measurements for an Average: To ensure measurement accuracy, it is recommended to take two to three measurements and calculate the average.
- Ensure the Tape Does Not Compress the Skin: The tape should lie flat against the skin without being too tight to avoid data discrepancies.
4. Chest Measurement
Accurate measurement of chest circumference is crucial for health assessment and body shape management, especially for body fat evaluation and clothing size selection. Here are the specific steps and considerations to ensure precise measurement results.
4.1 Preparation
Stand naturally with your body relaxed and breathing normally during the measurement. For women, it’s recommended to wear a thin bra or no bra to ensure data accuracy; men can measure directly.
4.2 Required Tools
- Soft tape measure: Choose a flexible measuring tape that can conform to the curves of the chest without compressing the skin or muscles.
4.3 Measurement Process
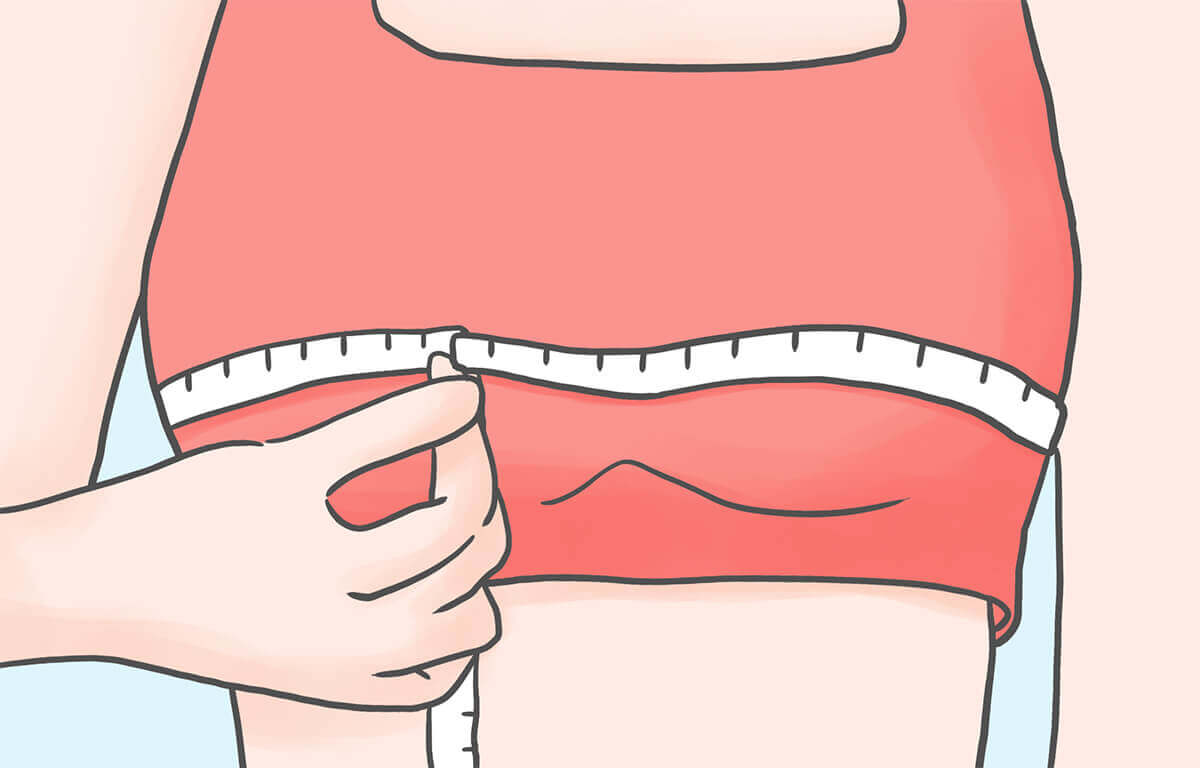
Measurement Location: Wrap the tape measure around the chest, placing it horizontally above the nipples for women, extending around the back to the fullest part of the chest, ensuring the tape is parallel to the ground. For men, the tape should wrap around the most prominent part of the chest muscles, which is typically at nipple height.
Ensure the tape maintains the same horizontal level at the back and front of the chest, avoiding any sliding or tilting of the tape. During the measurement, breathe naturally without consciously inhaling or exhaling, and record the chest circumference displayed on the tape.
4.4 Considerations
Make sure the tape lies snugly against the skin without being overly tight or compressing the chest muscles or skin, as this can affect measurement accuracy. Taking multiple measurements and averaging them is a good method to ensure the reliability of the results.
5. Hip Measurement
Hip measurement is an important indicator for assessing the waist-to-hip ratio (WHR) and body fat distribution. Accurate hip measurements help provide a comprehensive evaluation of health, particularly concerning the ratio of abdominal to hip fat. Here are the detailed steps and practical instructions.
5.1 Preparation
When measuring hip circumference, stand on a flat surface with your feet shoulder-width apart, your body relaxed, and in an upright position. This helps ensure the tape measure is properly positioned during measurement to avoid errors.
5.2 Required Tools
- Soft tape measure: Use a flexible measuring tape that can conform to the curves of your hips for accurate measurement.
5.3 Measurement Process
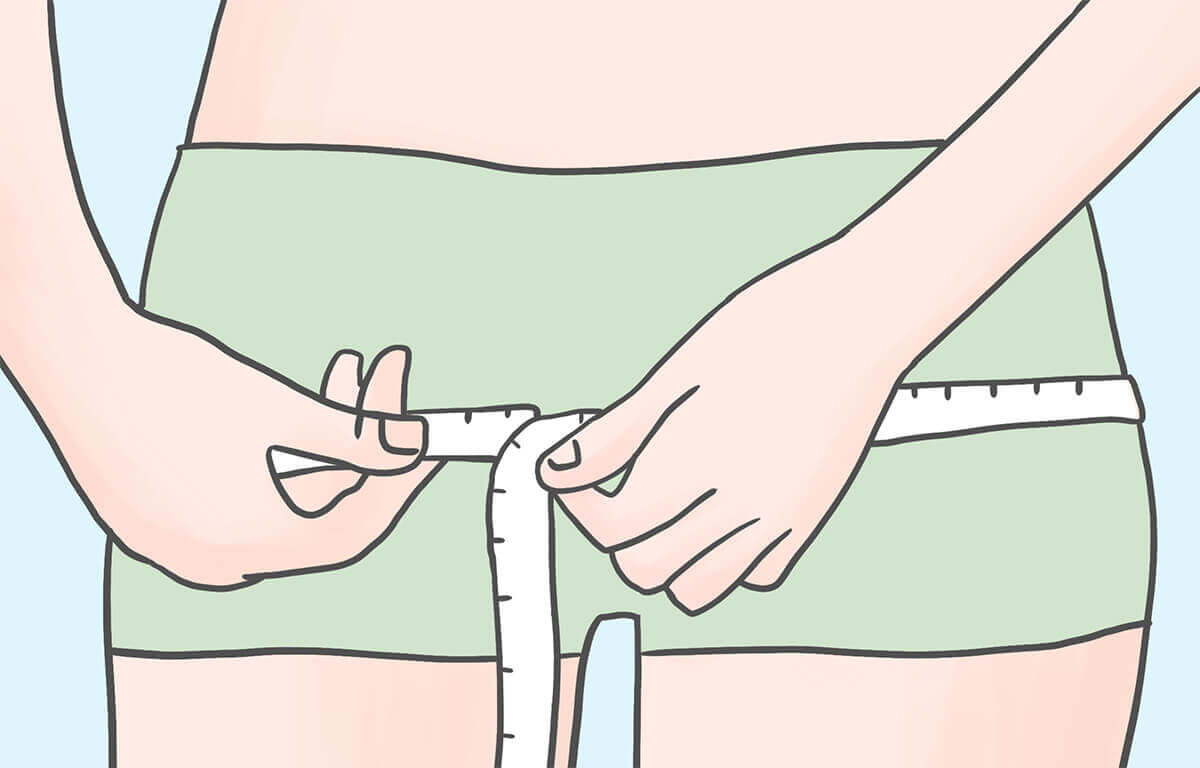
Identify the Measurement Location: The standard measurement point for hip circumference is at the widest part of the hips, typically just above the thighs, near the highest point of the buttocks. You can stand in front of a mirror to ensure the tape measure encircles the most prominent part of your hips.
Conduct the Measurement: Wrap the tape measure horizontally around the widest part of your hips, ensuring it remains parallel to the ground and does not tilt upward or downward. The tape should be snug against your skin without being overly tight. Maintain an upright posture with your feet parallel, avoiding tensing or spreading your legs, and record the number displayed on the tape.
5.4 Considerations
- Keep the Tape Level: Ensure the tape measure is wrapped horizontally around the hips during the measurement, avoiding any tilt for accuracy.
- Prevent Tape Slippage: Make sure the tape remains fixed around the hips without sliding or loosening during measurement to avoid inaccurate data.
- Stand Naturally: Maintain a natural standing position during measurement, avoiding any deliberate tightening of the hips or legs, as this can affect the results.
- Take Multiple Measurements for an Average: To improve data reliability, it is advisable to take two to three measurements and calculate the average.
6. Body Fat Measurement (Skinfold Method)
The skinfold method is a commonly used technique for measuring body fat by estimating body fat percentage through the thickness of subcutaneous fat. The amount of subcutaneous fat in different areas reflects overall fat distribution, and measuring multiple specific sites can provide a more accurate estimate of total body fat. Here are the detailed measurement steps and specific methods for various locations.
6.1 Preparation for Measurement
- Choose a relatively stable time for measurement, preferably in the morning or while at rest, to minimize the impact of water fluctuations on the data.
- Ensure that the skin is dry and free from lotions or creams to avoid affecting the grip of the caliper.
- Stand during measurement, maintaining natural breathing and a relaxed state.
6.2 Required Tools
- Caliper: A tool for accurately measuring the thickness of subcutaneous fat; it’s important to choose a high-quality, calibrated caliper.
6.3 Measurement Sites and Methods
The skinfold method typically involves multiple measurement points, with fat distribution at these sites reflecting overall body fat levels. Here are commonly used measurement sites and their methods:
Triceps
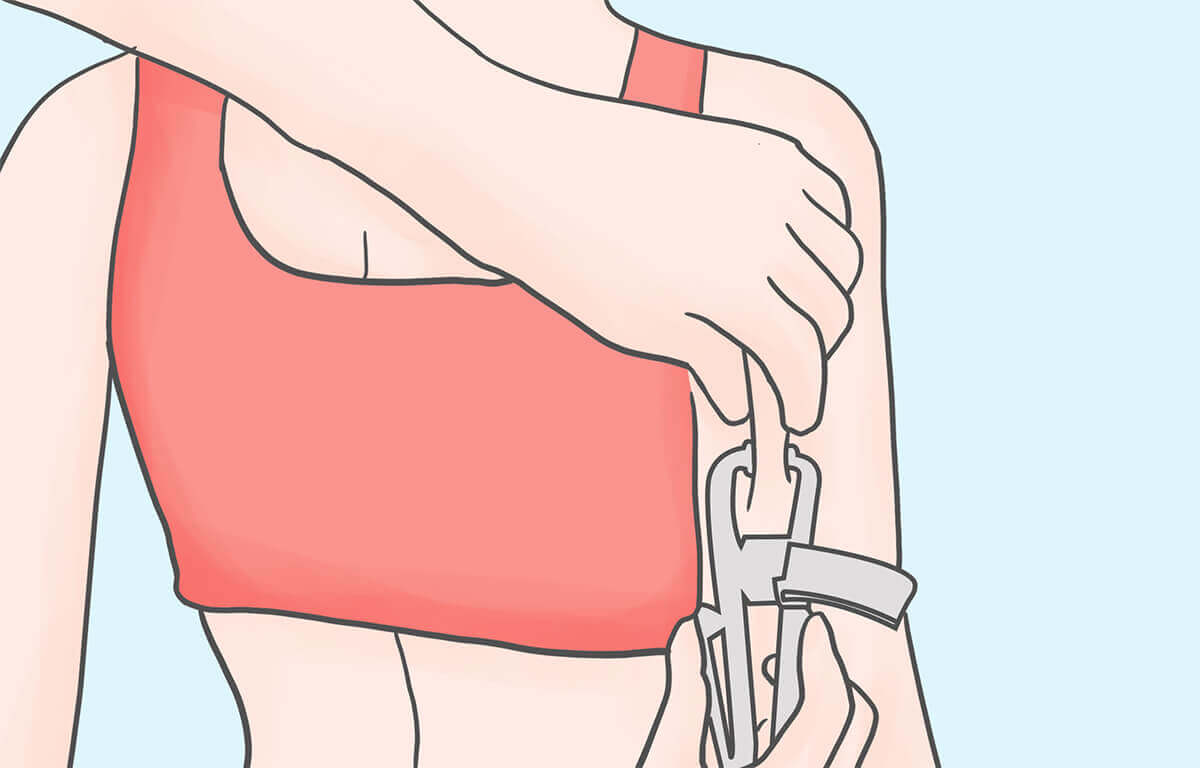
- Measurement Location: On the back of the upper arm, at the midpoint between the shoulder and elbow.
- Measurement Method: Gently pinch about 1-2 centimeters of skin and subcutaneous fat without including muscle, then use the caliper to clamp it. Read and record the data.
- Reason for Measurement: The triceps area reflects the subcutaneous fat content of the upper limbs, particularly in women, where fat accumulation in this region can be more noticeable.
Subscapular
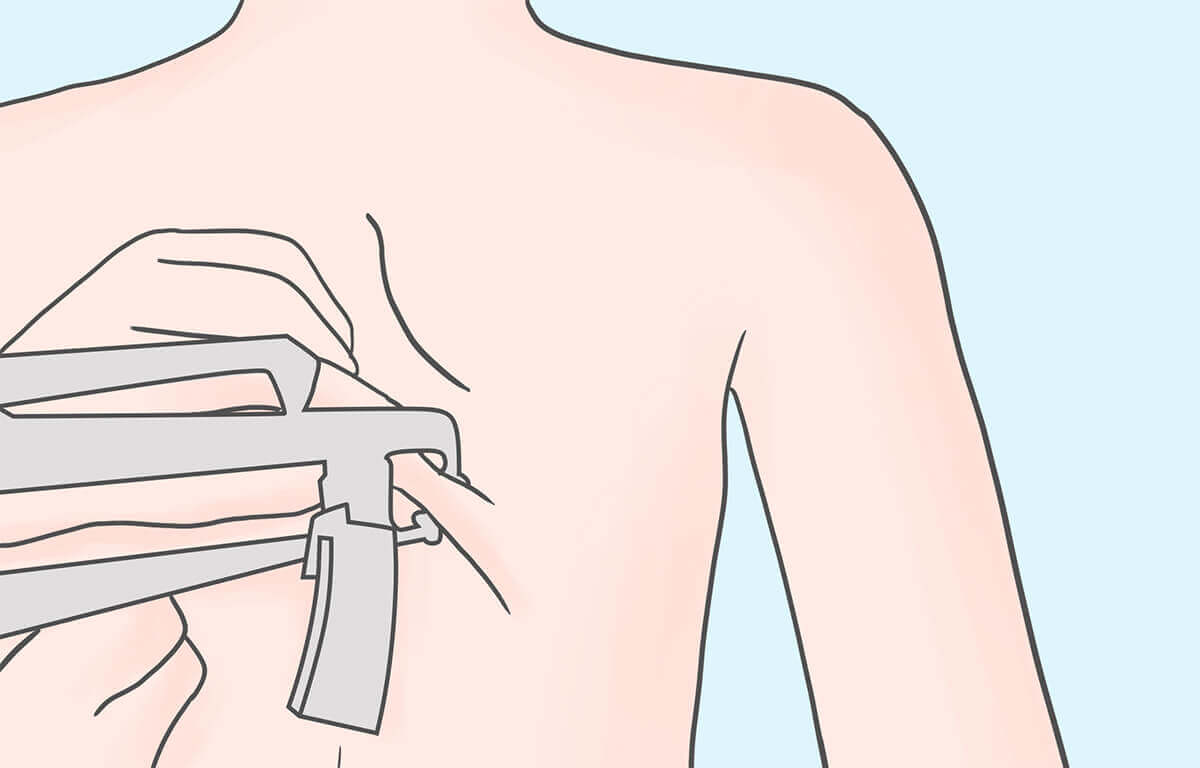
- Measurement Location: Located below the lower edge of the scapula on the back, measured at about a 45-degree angle along the underside of the scapula.
- Measurement Method: Pinch the skin and fat layer, use the caliper to clamp it, and read and record the data.
- Reason for Measurement: Subcutaneous fat at this site is closely related to metabolic health, making it an important indicator of overall fat storage.
Abdominal
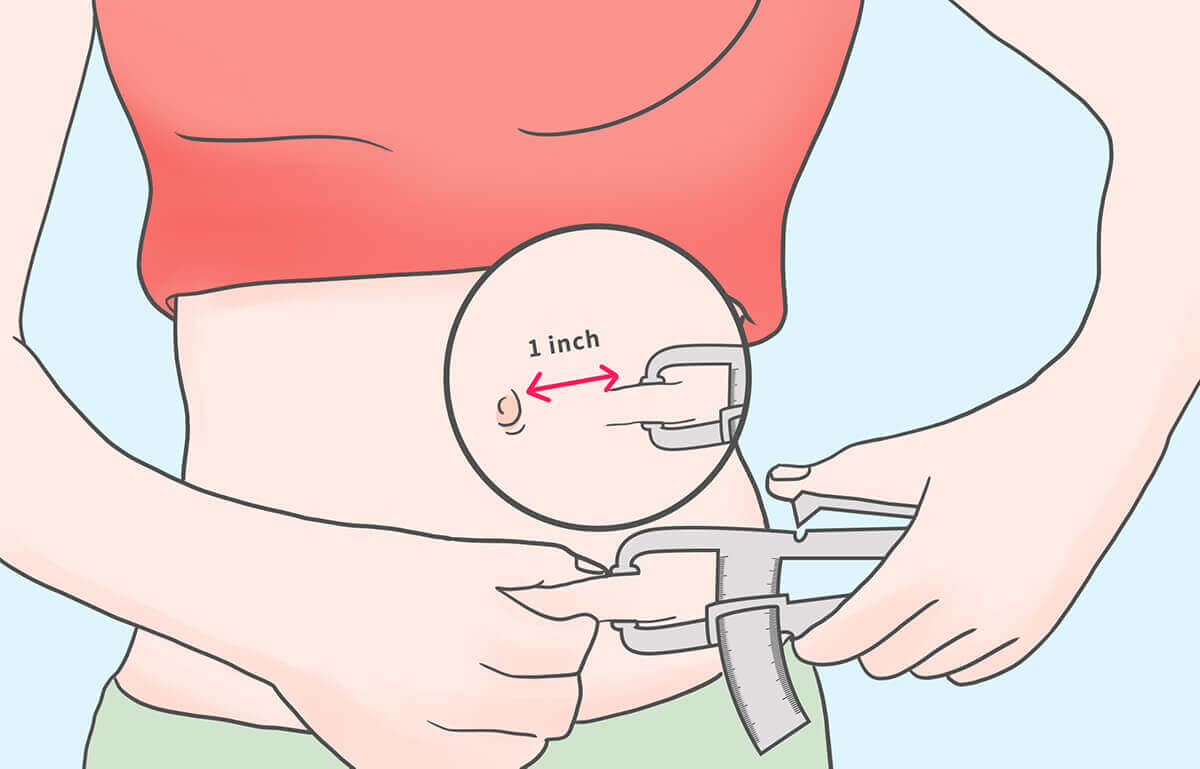
- Measurement Location: Horizontally 2-3 centimeters beside the navel.
- Measurement Method: Pinch the skin and fat layer of the abdomen and clamp with the caliper vertically to read and record the data.
- Reason for Measurement: Abdominal fat reflects visceral fat, and excess abdominal fat is associated with increased cardiovascular disease risk, making this measurement point critical.
Thigh

- Measurement Location: On the front side of the thigh, at the midpoint between the hip joint and the knee.
- Measurement Method: While standing, pinch the skin and fat layer on the front of the thigh, then use the caliper to clamp it and read the data.
- Reason for Measurement: The amount of fat stored in the front of the thigh reflects lower body fat distribution, which is particularly significant for overall fat assessment.
Suprailiac
- Measurement Location: Located at the upper edge of the hip bone, typically on the side of the waist, below the rib cage, and above the hip bone.
- Measurement Method: Pinch the skin and fat layer, clamp it with the caliper, and then read the data.
- Reason for Measurement: Fat at this site reflects trunk fat storage and is closely related to waist circumference and other measurements.
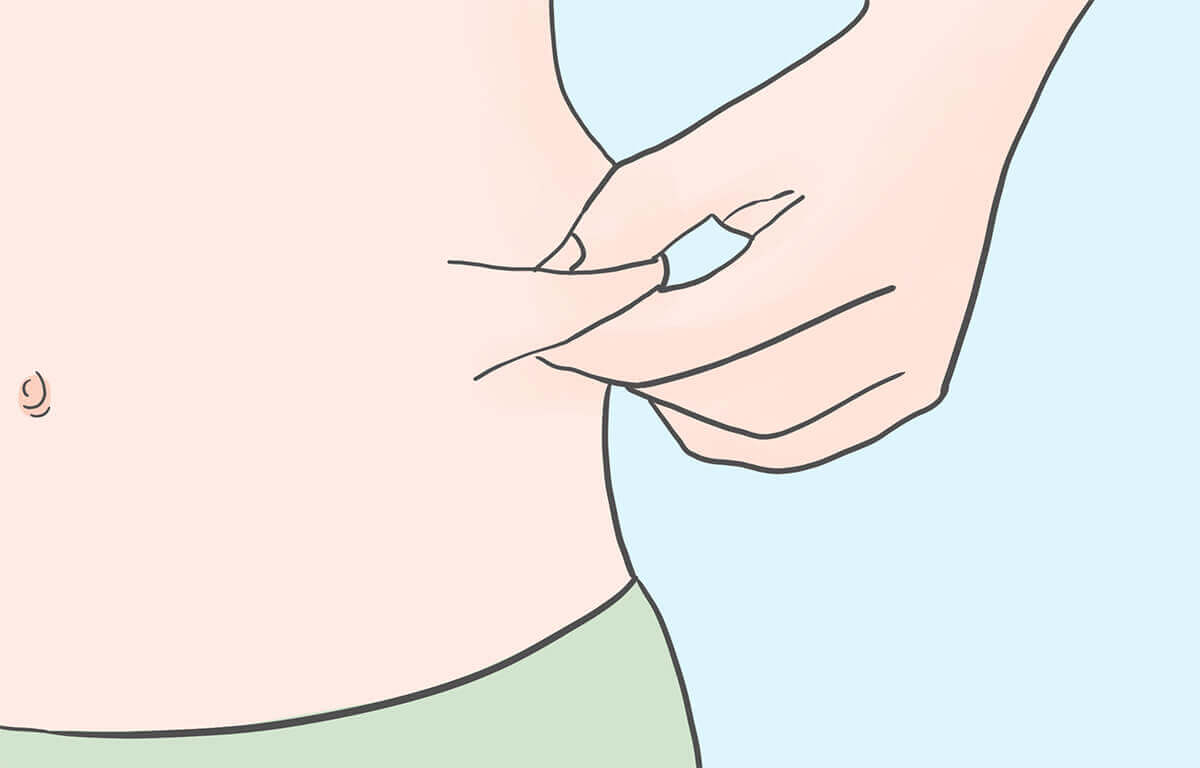
6.4 Measurement Steps
- Once the measurement point is located, pinch the skin and subcutaneous fat layer, ensuring not to include muscle.
- Use the caliper to gently clamp the pinched skin, wait about 1-2 seconds, and read the value.
- It is recommended to measure each site two to three times and take the average to ensure data accuracy.
- Record the measurement results for each site and calculate overall body fat percentage using fat formulas.
6.5 Precautions
- Maintain Measurement Consistency: Each measurement should be performed in the same position and technique to ensure reliability.
- Avoid Measurement Errors: The caliper should be accurately calibrated, and the pinched skin should not include muscle to prevent inaccurate results.
- Multiple Measurements: It’s advisable to measure the same site 2-3 times and take the average to reduce random error.
6.6 Health Status Corresponding to Body Fat
Based on body fat measurement results, you can compare your body fat levels to health standards. Generally, healthy body fat ranges vary by gender and age. Here’s a reference range:
Men:
- 6-13%: Athlete level
- 14-17%: Fit
- 18-24%: Average healthy level
- 25% and above: Obese
Women:
- 14-20%: Athlete level
- 21-24%: Fit
- 25-31%: Average healthy level
- 32% and above: Obese